3D printing is no longer the realm of engineers or sci-fi fans. With prices dropping and accessibility rising, anyone can learn how to use a 3D printer to turn digital designs into physical objects. Whether you’re crafting toys, tools, or artistic prototypes, this guide will take you from unboxing to your first successful print.
What You Need to Get Started
Before you begin, make sure you’ve gathered the essentials:
- A 3D printer (FDM for beginners is best)
- Filament (PLA is the most forgiving)
- A slicer program (like Cura or PrusaSlicer)
- A 3D model (.STL format)
- An SD card or USB connection
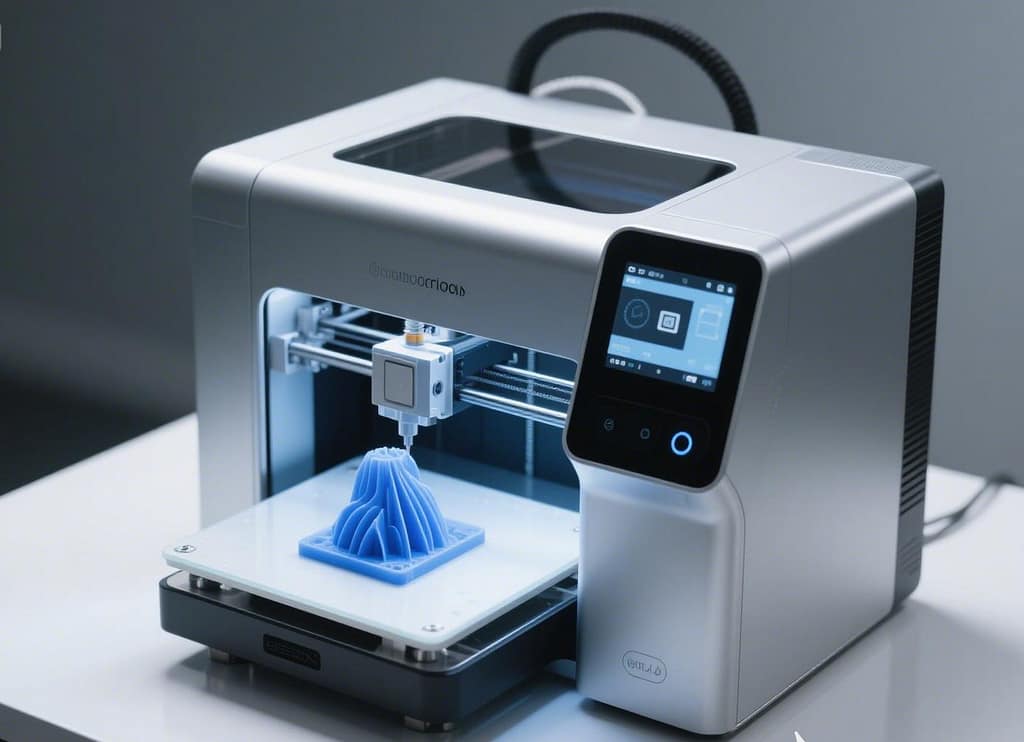
Step-by-Step: How to Use a 3D Printer

Step 1: Unbox and Assemble
Most beginner-friendly printers require minor assembly. Follow the included manual to connect the frame, extruder, and wiring properly. Tighten all screws and check belt tension.
Step 2: Install Slicer Software
Download a free slicing software like Cura. This program prepares your 3D model for printing by converting it into “slices” or printable layers.
Step 3: Choose a 3D Model
Start with a simple file from Thingiverse or Printables. Look for beginner-friendly models marked as “tested” or “easy to print.”
Step 4: Slice Your Model
Open your STL file in Cura and adjust basic settings:
- Layer Height: 0.2 mm
- Infill: 15% for most prints
- Supports: Only if your model has overhangs
Export the file as G-code and save it to your SD card or USB.
Step 5: Load the Filament
Turn on the printer and preheat the nozzle to around 200°C for PLA. Insert the filament and manually feed it until melted plastic extrudes from the nozzle.
Step 6: Level the Bed
Bed leveling is critical. If your printer doesn’t have auto-leveling, use the paper method: move the nozzle close to the bed and slide a piece of paper underneath—it should drag slightly but not tear.
Step 7: Start the Print
Insert the SD card, select your file from the printer’s menu, and begin the print. Watch the first few layers to ensure proper adhesion.
Post-Processing Tips
- Carefully remove the finished print with a spatula.
- Trim supports using pliers.
- Sand or paint the object as needed for your project.
Pro Tips for First-Time Users
- Print a test cube to check your calibration.
- Store filament in a dry container.
- Avoid printing large, complex models first.
Common Beginner Mistakes
- Skipping bed leveling
- Using the wrong temperature
- Over-relying on default slicer settings
- Ignoring the first layer
Real-World Use Cases
Once you learn how to use a 3D printer, you can:
- Create custom tools and fixtures
- Print phone stands, keychains, and toys
- Build replacement parts for home appliances
- Prototype inventions or DIY projects
FAQ – How to Use a 3D Printer
Q1: How long does it take to print something?
A small object can take 30 minutes to 2 hours, while larger prints may take 10+ hours.
Q2: What’s the best material for beginners?
PLA is easy to use and requires no heated bed.
Q3: Do I need to know 3D modeling to use a 3D printer?
Not at first! You can download free models online. Later, you can use Tinkercad or Fusion360 to design your own.
Q4: Can I leave my 3D printer running overnight?
It’s not recommended unless you have experience and fire precautions in place.